Friday May 10, 2013
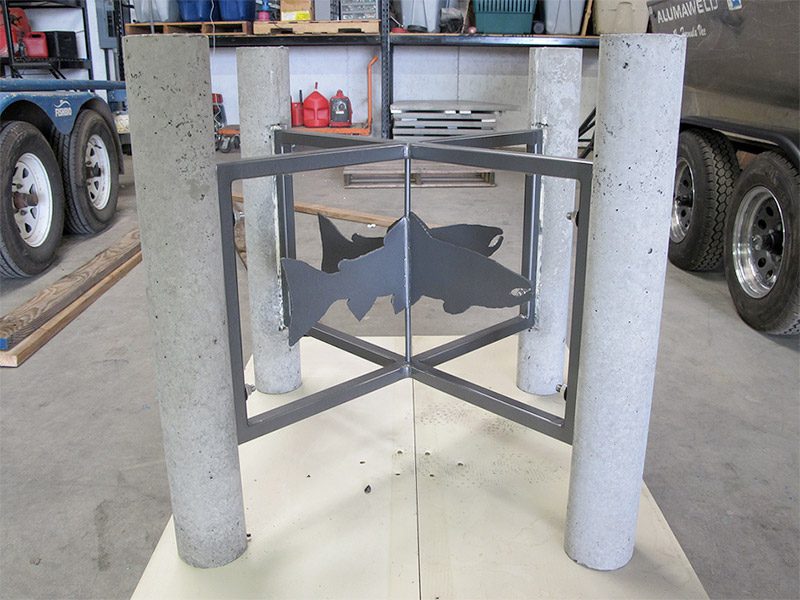
We have featured the artistic creations of our fisheries technicians before, such as a gate with a riverscape scene or iron yard art (Artistic Outlet), but our design capabilities don’t stop there. When it came to furnishing the inside of our offices, we wanted something more original than typical particleboard tables and desks. We opted for concrete because of the flexibility it offers. With each new piece of furniture our designs become more creative, from a salmon silhouette embedded in the center of a table, to polished stones forming a meandering stream across a countertop, to painted steel trout cutouts adorning the base of a desk. We find we are constantly surrounding ourselves with reminders of the habitat and wildlife that we so enjoy working with.
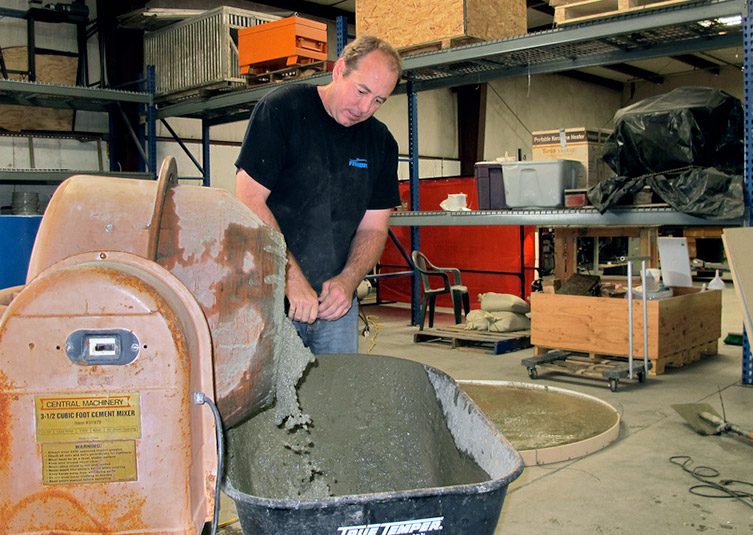
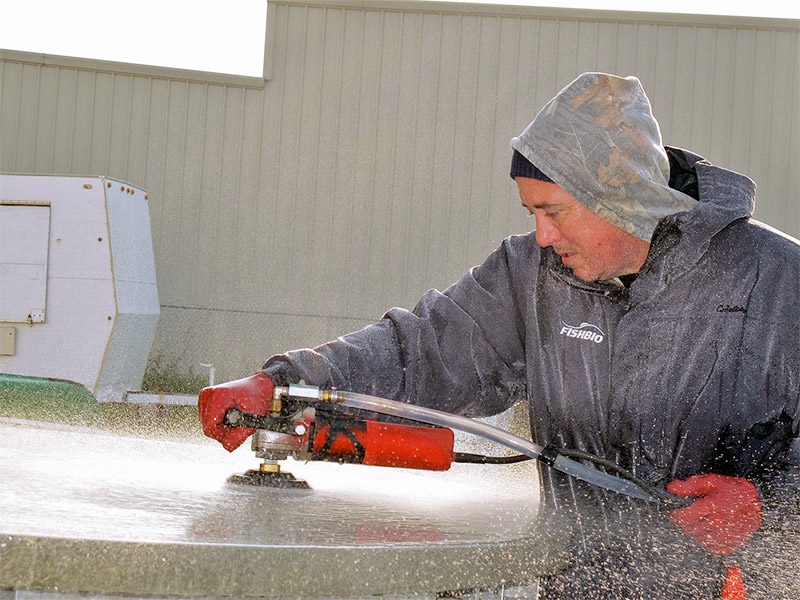
The process of making a concrete tabletop starts with building a form out of melamine panels and sealing the seams and corners with silicone caulking. Inside the form we construct a wire or rebar skeleton to give strength to the thin concrete slab. Anything that we want to embed in the tabletop, such as wood, stones, or precast designs, is placed in the bottom of the form facing downward. We use a high strength concrete mix, like Quikrete® 5000, and combine it with water and coloring until it achieves a stiff, moldable consistency. The mix is then poured into the form and thoroughly tamped or vibrated to remove air pockets. We level the surface using a straight board (screed) to scrape off any excess mix. As the concrete begins to set, the surface, which will become the underside of the tabletop, can be smoothed with a trowel. After a week of curing the concrete slab can be turned over and the form removed. To get a smooth finish on the tabletop, we wet sand it with increasingly finer grit sanding disks, and then apply a water sealer. With some imagination and ingenuity, the design possibilities are limitless.