
Friday January 15, 2016
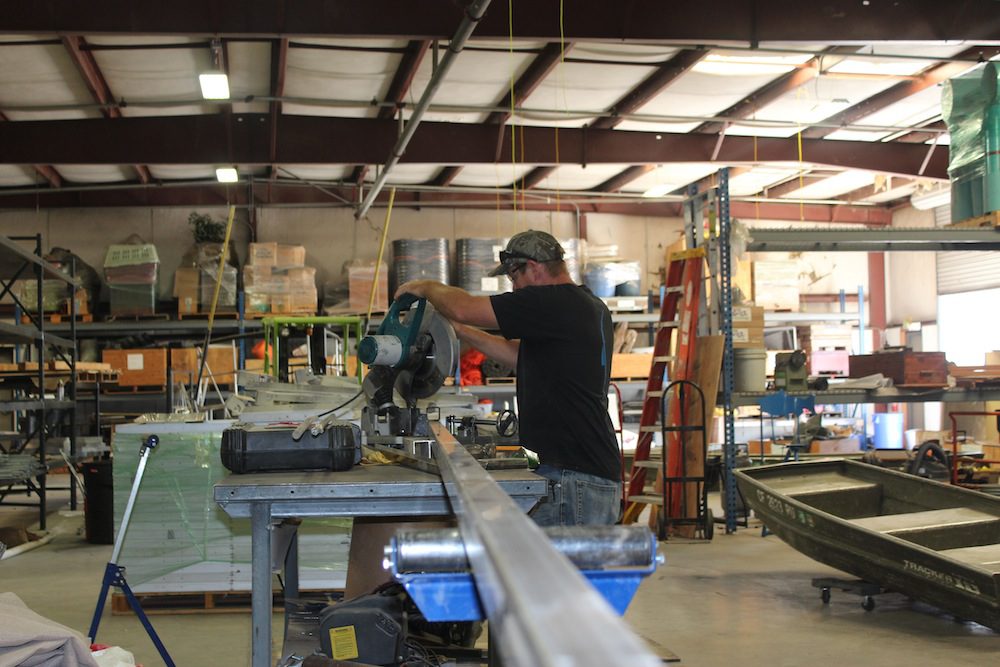
 Home brewers can be a lot like car enthusiasts in that we can be a little excessive in our quest to trick-out our rigs. It started with constructing our electric control panel for powering our heating elements and switching our pumps on and off (see Electric Brew). We then figured we should construct a proper brew stand to hold our kettles, pumps, and heat exchangers.
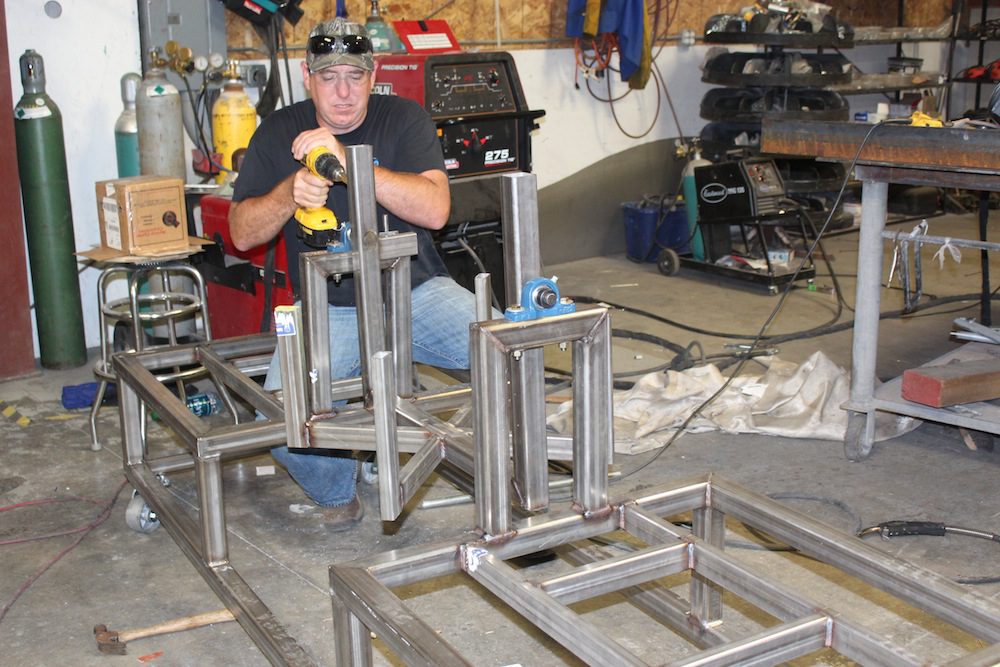
 Many home brewers opt to use a three-tier brew stand to let the force of gravity help transfer water from the hot liquor tank to the mash tun, and the hot wort to the brew kettle. This method eliminates the use of pumps and has a smaller footprint in your garage, basement, or wherever you brew. We opted to build a single level brew stand, mostly for safety purposes. Having scalding hot water perched overhead could lead to a dangerous situation if something was to go wrong. As home brewers often do, we are happy to share (or perhaps show off) our design and some of our reasoning behind it.
 Because sanitation is one of the most important steps in beer brewing, we chose to use stainless steel due to its sanitation properties – and we also happen to like the look. Quality stainless steel does not rust, and therefore does not need to be painted. This allows us to scrub with all our might when cleaning without damaging the surface, as can happen with pained finishes. Since we are using 55-gallon brew kettles, we thought it would be a good idea to add heavy duty casters to make our brew rig mobile.
 Our system includes two pumps and food-grade silicon tubing, with quick connects for transferring water and wort. We mounted the pumps on the bottom of the brew stand to keep them and their cords off the ground. Doing this helps keep things sanitary, eliminates trip hazards, and prevents water and electricity from mingling if the floor becomes damp. We included a place for our plate chiller to mount below the brew kettle, and put some thought into where to locate components to keep the lengths of tubing short, as long tubing is more difficult to clean.
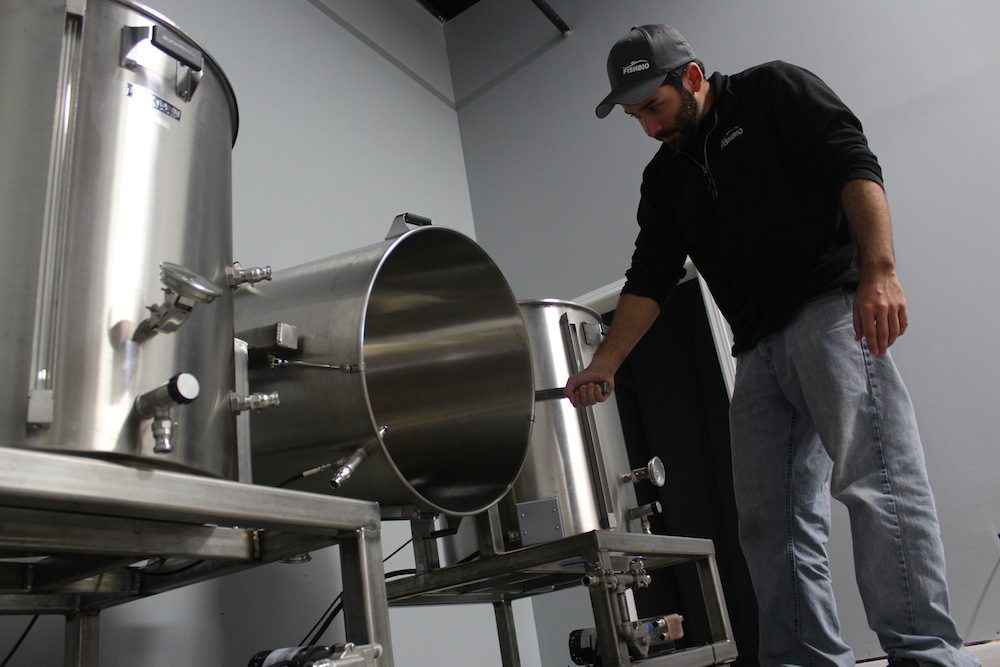
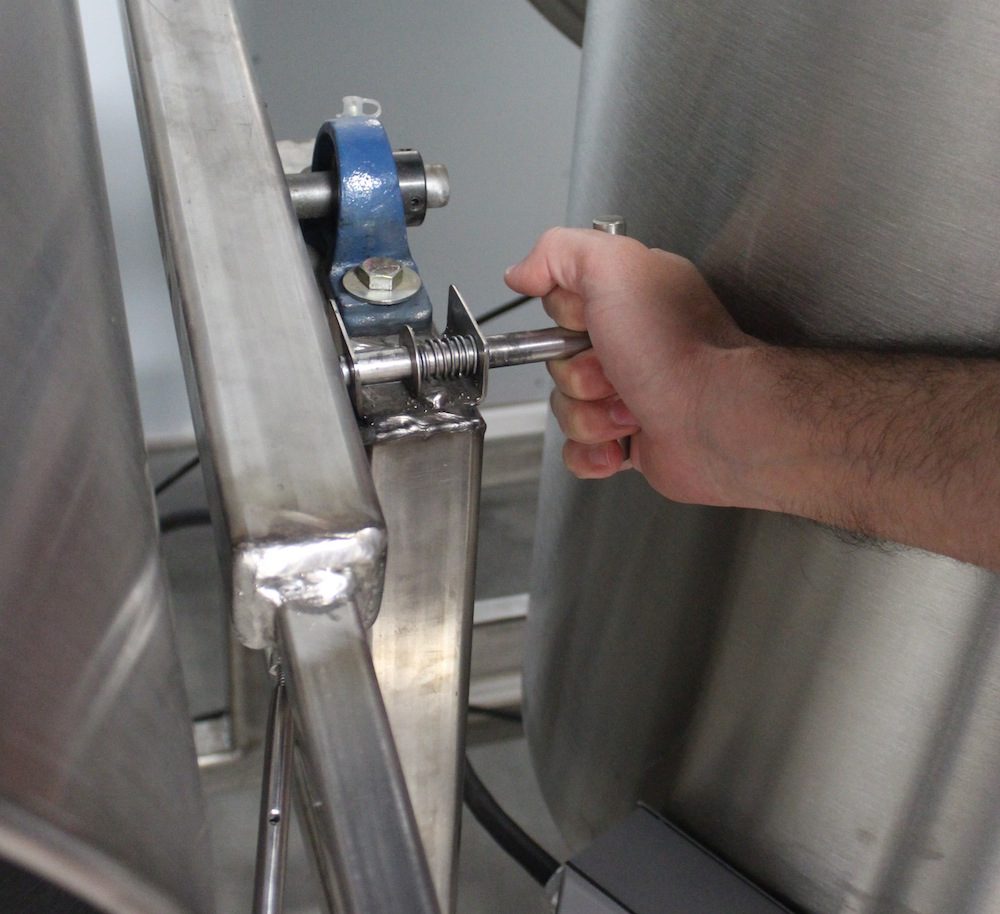 By far the coolest feature we included in our brew stand build is a “tippy dump” for the mash tun. Because this brewing setup is designed to make 31-gallon (1-barrel) batches of beer, we can be left with one hundred pounds of spent grain following the mash! To make removing the used grain less painful, the stand was constructed with a swing mechanism that allows the mash vessel to be tipped over, so the grain can be dumped into a wheelbarrow. To accomplish this feature, we welded a basket that fits snugly around the mash tun with clasps to keep the pot securely in place so it can’t fall out when tipped. The basket holding the mash tun is connected to the brew stand with bearings, and a steel pin is used to hold the mash ton either in the upright or tipped position. To finish things off, we included a handle to make the tipping process even easier. Naturally, a fancy brew stand will have nothing to contribute to how great your beer will taste, but it can sure make things simpler on brew day, and makes it easier to repeat the process over again to get consistent batches of beer.